
UCOP Cascade Help
Cascade workflow tips
The Cascade accessibility workflow adds an additional step for content editors before submitting content through workflow to be published. Here are some tips.
- 1 - Summarize your changes in the comments field.
- 2 - Check PDFs for accessibility.
- 3 - Sequence your workflow submissions.
- 4 - Prepare and finalize your content in Word first.
- 5 - Preview your work using Preview Draft.
- 6 - There is no need to request publishing.
1 - Summarize your changes in the comments field.
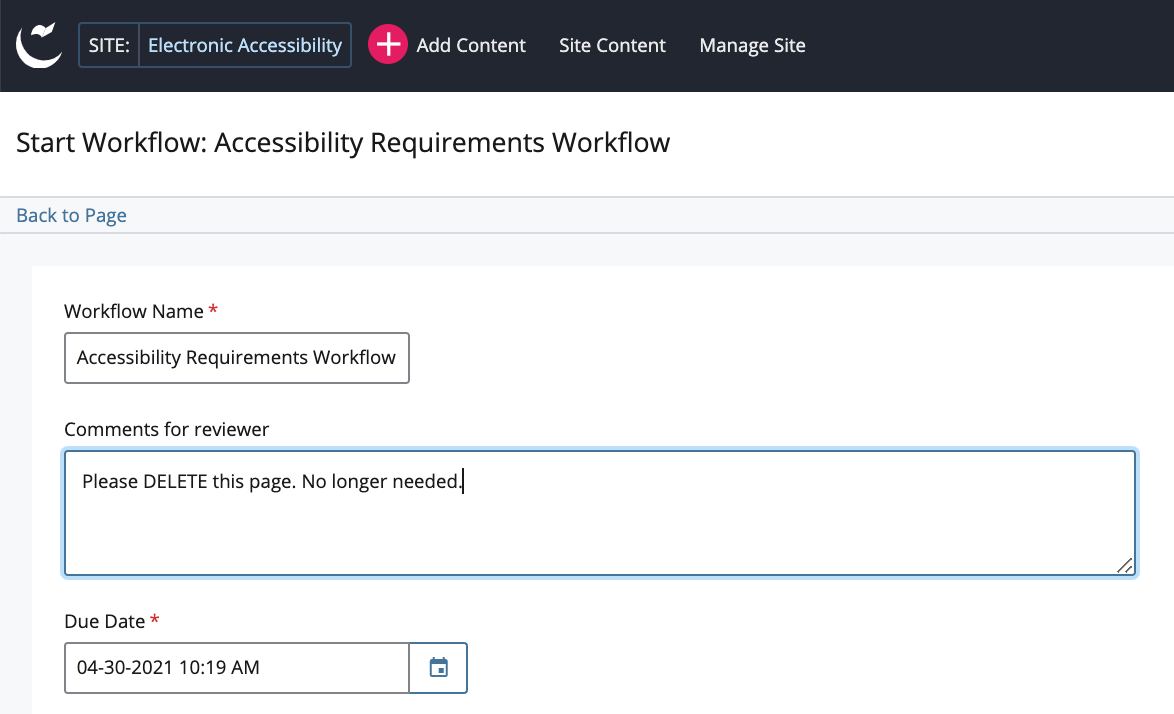
Comments help the reviewers understand what you are trying to do in the workflow. If you have a specific or time-sensitive request regarding publishing, please also make a note in the Comments for reviewer field.
Examples:
- Delete this page. No longer needed.
- Updated block content; some content has changed.
- Please publish live ASAP. Updated page content and hyperlinks.
- Do NOT publish live. Pending my team review on QA. Updated page content and images.
2 - Check PDFs for accessibility.
Check PDFs against the Quick checks: PDF accessibility before submitting to workflow
- Title: PDF has a title for the purpose of the document
- Primary language: English
- Alternate text: Images have alternate text
- Headings: Good use of heading structure
- Links: Verify meaningful link text
- Simple tables: Check for column headers
Use the accessibility checker in Acrobat to Check accessibility of PDFs (Acrobat Pro) to make sure the documents are accessible before submitting to workflow.
The workflow for your page will be returned to you if there are PDFs that do not pass the quick checks for PDF accessibility.
If possible, before starting work on web pages that will link to PDFs, update the PDFs and send them through workflow first.
3 - Sequence your workflow submissions.
To minimize the number of rounds for workflow reviews, we recommend that you first submit workflows for blocks and files (PDFs, Word docs, Excel spreadsheets, images). After all blocks and files have been approved, you will only need to submit your web page to the workflow once.
- Submit blocks & files for approval first.
- Once workflows for blocks & files are approved, you will be able to see the updated content of the blocks and files on the related page(s). Make any necessary adjustments. Then send the web page(s) through workflow for review.
4 - Prepare and finalize your content in Word first.
It is more efficient to develop your new/updated content outside of Cascade in a Word document or in text format first. Please also check spelling before submitting your final content changes through the workflow. Then get your team's approval on the content before making the changes in Cascade.
Additional tip - when copying and pasting content from Word, use the Paste as text option in Cascade to clean up any pre-existing formatting and hidden web code.

5 - Preview your work using Preview Draft.
When you edit, Cascade automatically saves a draft of your changes. You can preview these changes before submitting them by using Preview Draft.
- Preview Draft allows you to save a working version of a page to complete later.
- Edit and preview your work multiple times until you are ready to submit it for approval.
- While previewing draft, go to More, Full Screen Preview to see a preview of your content in the web browser.
Once you are ready to submit your final content changes for approval, use the Submit button. Then use the Check Content & Submit button to use Cascade's Spelling and Accessibility checkers before the Finish button to send to workflow.


6 - There is no need to request publishing.
The workflow handles publishing to both the QA and live websites. It is no longer necessary to use the Publish button in Cascade to publish to QA, and there is no need to send a separate email request for publishing live.
- Publishing to QA is handled automatically when you submit your content changes through workflow.
- Publishing live will happen once your workflow is approved.
Note: If you want team members to review your work on QA during workflow, you will need to be connected either to the UCOP network or on VPN.